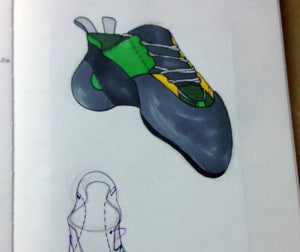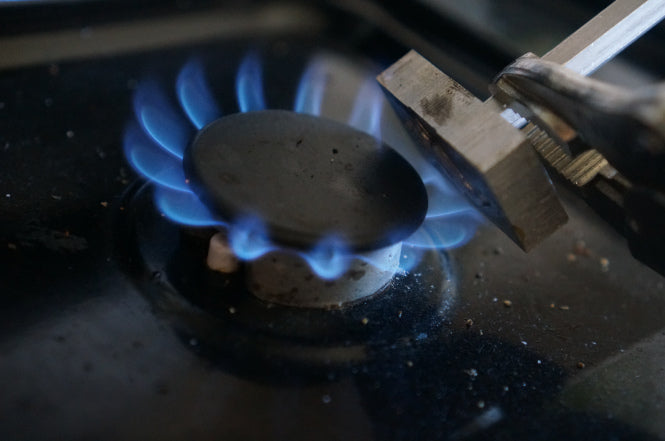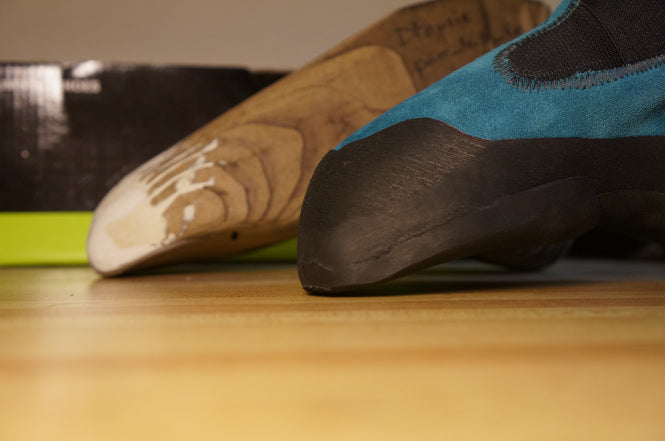
Some of the people who stopped by the SFT table had great input on one of my designs, and there was so much excitement about this concept that I decided to go ahead with a prototype.

The prototype pair of shoes was finished just in time for us to head to Owens Valley. Dan has been testing them all week, and he’s very happy with how they fit and the tension properties of the shoe. When we return to the shop, I’ll build a second version with some pattern updates for greater comfort and stretch management.

]]>
The SFT crew was out field testing in Nevada, and we documented the trip, hoping to use some of the footage in the short video I’ve been working on. While this particular problem didn’t fit into the main video that I’m crafting, we had too much fun on it to just consign the video to a hard drive.
Film is a great medium because even the scraps can be repurposed into little stories like this – it inspired me to find more ways to use “scrap” material from everywhere in our process.
]]>Because our last model is parametric (its geometry is determined by a stored set of equations and relationships), it can adapt to accommodate different variations of foot proportions. This video shows how the last shape changes for a 5% increase in length and a 22% increase in width across the ball of the foot.
]]>

 ]]>
]]>


This prototype was built to explore a new rand design. Instead of splitting the rand where the sole splits, the toe rand is a continuous arch which connects to the heel rand above the shoe's mid-section. This rand geometry produces a more torsionally stable toebox.
]]>Since the new last I'm working on is not based on a 3D scan, it's likely the most complex geometry I have ever created CAD for. Consequently, wrapping my head around it has required a lot of drawing board time. Pencil and paper is much more flexible than the rigid definitions of a CAD program when initially hashing out complex curves and has the up side of making me feel like a 1950s engineer.


1. Create sock and duct tape pattern of foot.
2. Scan sock model with 123D Catch.
3. Import scan into Rhino and model a smooth surface over it.

4. Slice Rhino model, import into AutoCAD and prepare for laser cutting.
5. Laser cut out of Masonite.
6. Glue laser cut pieces together.

7. Shape last with sander.

 After some testing, adding friction back to the bearings in the system did not look promising. Instead, I machined a custom ladder lock (shown in silver in the image). This design has a third aperture for the webbing which eliminates the self-unlocking angle.
Slip-testing results which compare the off-the-shelf ladder lock (shown in gold in the image) to the custom ladder lock are documented in the graph below.
]]>
 As promised in our work update, we're experimenting with casting grommets from our CNC master item. If these function well on the prototype, we'll work on making an "ice-cube tray" set of silicone molds to replace the single one we have here. Not quite mass production yet...]]>


 A sheet of plywood + two sets of shelving = a whole new work area for the sewing machine. The dining table can now accommodate dining once more. All of the white items on the left shelves are Mak's patterns, converging on a Platonic ideal.]]>
 The nearest repair shop did have replacement gears for the 40-year-old die-cast machine, but having it professionally fixed would take a week. Oh, and that according to the mechanic, "you have to take the whole thing apart" from the top shaft with the cam, down the body by the motor, to the bottom shaft in the base where the broken gears actual were. We could see them and touch them and remove their set screws, but not get them out without taking every access panel off and futzing around inside a lot. It looked like a mess.
 But what would our meche degrees be for, if we can't fix it ourselves and get our hands greased up (and seriously, there was a LOT of grease in there. The top worm gear interface was practically a fluid coupling) and play with all the screw-drivers in the garage? And hammers. Because that's what we resorted to. It turns out that most of the items removed from the top did not have to have their rusted-out threads budged. By taking out the plug on the side and applying some judicious hammer tapping, we got the bottom horizontal drive shaft and vertical drive shaft out, and replaced the gears. Then came the fearsome task of re-timing the machine. This is what all sewing repair shops advise you not to try. Well, Mak took an educated guess, found out that didn't work, took another educated guess, and had things properly synchronized. Not too fearsome, after all.
Then we buttoned everything back up, less a great deal of rust-laden grease, and carefully ran the machine. The thread tension had to be messed with a little and then it was functioning better than before!


We managed to break our first needle today, trying to punch through a couple of layers of canvas, sew we snagged a picture of it with the Vomit Comet in the background. Hope you can handle bad puns.
]]>
Purchased a sewing machine on Monday. We've been celebrating by using it near continuously, and it has increased our prototyping efficiency by about 50%.
]]>